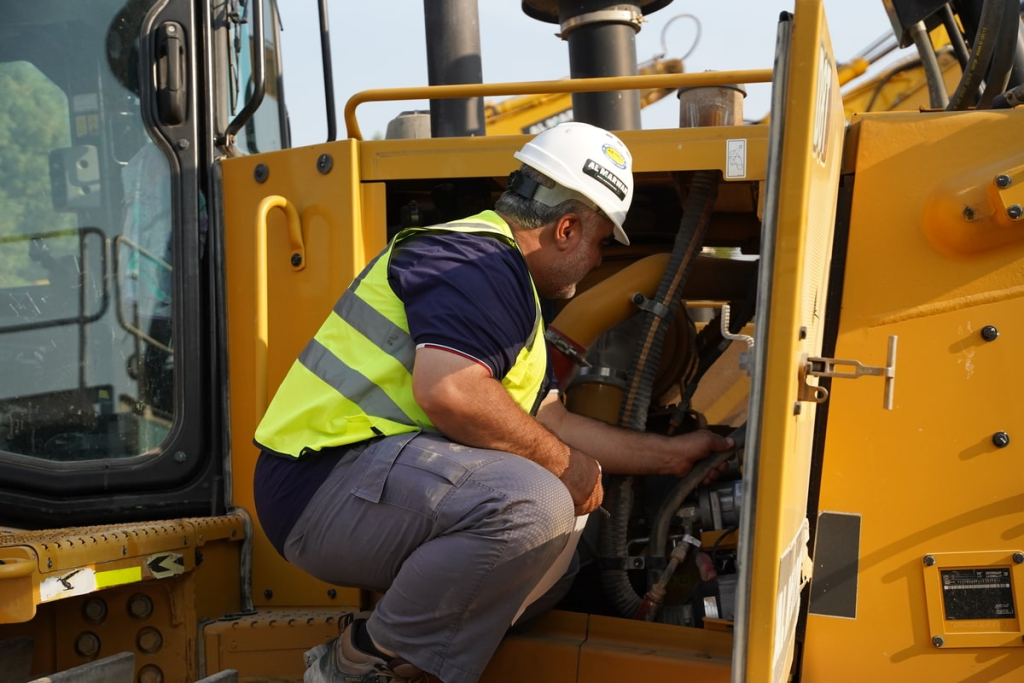
In the world of high-rise buildings, where minutes mean money, we understand your need for efficiency. At 7:00 AM, when you have to climb 30 stories up to your work station, a “thorough” safety inspection might seem like an obstacle preventing you from earning money.
Yet according to the statistics from 2025, only 15% of accidents in suspended platforms are due to catastrophic structural failure. The vast majority of accidents are caused by one worn part that could be detected within 30 seconds.
This is why today we are eliminating corporate nonsense from our daily safety inspection list, focusing on critical elements only.
Why Do Operators Skip Inspections?

First things first. Why aren’t most checklists done? Because:
- They’re too long. Who has time for a “pre-flight” checklist?
- They’re too vague. What does “check the hoist” mean?
- They’re too repetitive. It looked good yesterday; surely it’s still okay?
The world of suspended platforms is not one where things simply “break”; they get fatigued. Here’s how you spot them before they spot you.
The “Big Three” High-Risk Zones
If you are going to inspect only three parts in the limited time you have, choose the following three.
1. The Hoist (The Heart)
Instead of listening to the hum, pay special attention to:
The Heat: After the test starts, touch the casing of the hoist. Is it hot?
The Oil Leak: At the very base of the hoist, look for any oil. One drop means that the internal sealing is no more – brake failure in the making.
2. The Safety Lock (The Lifesaver)
The part that is rarely inspected!
Manual Activation: With manual activation, see whether the mechanism “clicks” or if there is a certain delay. One second is enough at 30 stories high.
The Calibration Date: Take a good look at the sticker on the mechanism. If your safety lock hasn’t been calibrated lately, then the springs inside can lose their tension.
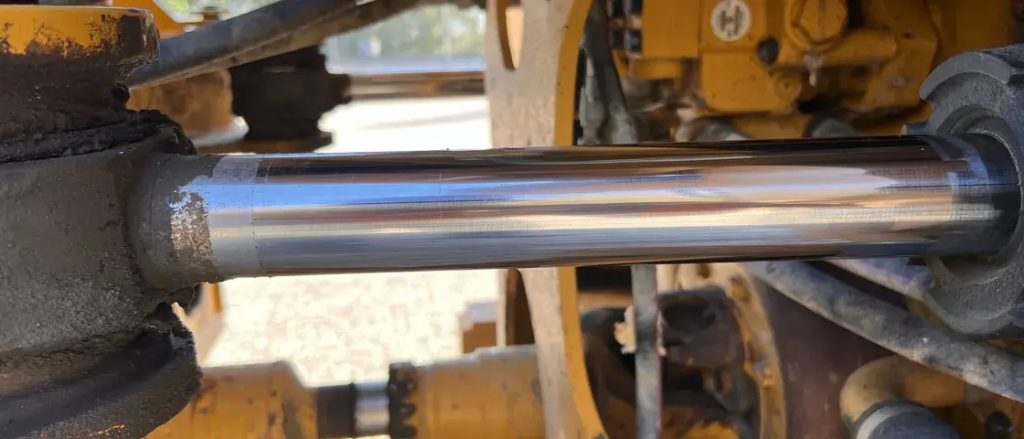
3. The Wire Rope (The Muscle)
Run your gloved hand on the first 3 meters of the rope. Is the glove snagged by any broken wire?
Look for “birdcaging” near the stirrup area. It indicates that the platform has tilted.
The 10-Minute Rapid Checklist
| Time | Component | What to Look For |
| 0-2 Min | Power Cable & Plug | Cracks in the insulation, loose pins, or “burnt” smells. |
| 2-4 Min | Safety Lock | Ensure the “Swing Arm” moves freely and isn’t clogged with cement. |
| 4-7 Min | Hoist Operation | Test Up/Down/Emergency Stop. Listen for “grinding” noises. |
| 7-9 Min | Counterweights | Are they actually secured? (You’d be surprised how many aren’t). |
| 9-10 Min | Stirrups & Pins | Check for missing “R-Clips” or loose bolts at the platform joints. |
2026 Tech Tip: Is Your Platform “Smart”?
Most LTD Series Hoists manufactured in 2026 include an IoT sensor package. If your hoist features a digital screen, pay attention to those codes. The latest IoT technology will detect issues such as “Brake Wear” or “Overload” long before you notice them yourself. In case of any message, such as “Service Required,” do not ignore it—it is literally saving your life.
Missing one inspection saves you 10 minutes right now, but it will cost you everything tomorrow. A damaged $50 brake pad and rusty safety lock spring is just not worth the risk.